Do stained wood cabinets need to be stripped before painting? This is one of the most common questions that comes up before a kitchen cabinet painting project, and it is almost always answered incorrectly by homeowners who research it online. The internet’s consensus — that you can simply sand stained wood cabinets lightly, prime them, and paint over them without any stripping — is sometimes true and sometimes a recipe for a paint job that begins failing within the first year. The difference between those two outcomes is not a matter of opinion or painting philosophy. It is a function of what type of finish is currently on the cabinets, what species of wood is underneath it, and what the stain and topcoat have done to that wood over the years those cabinets have been in service.
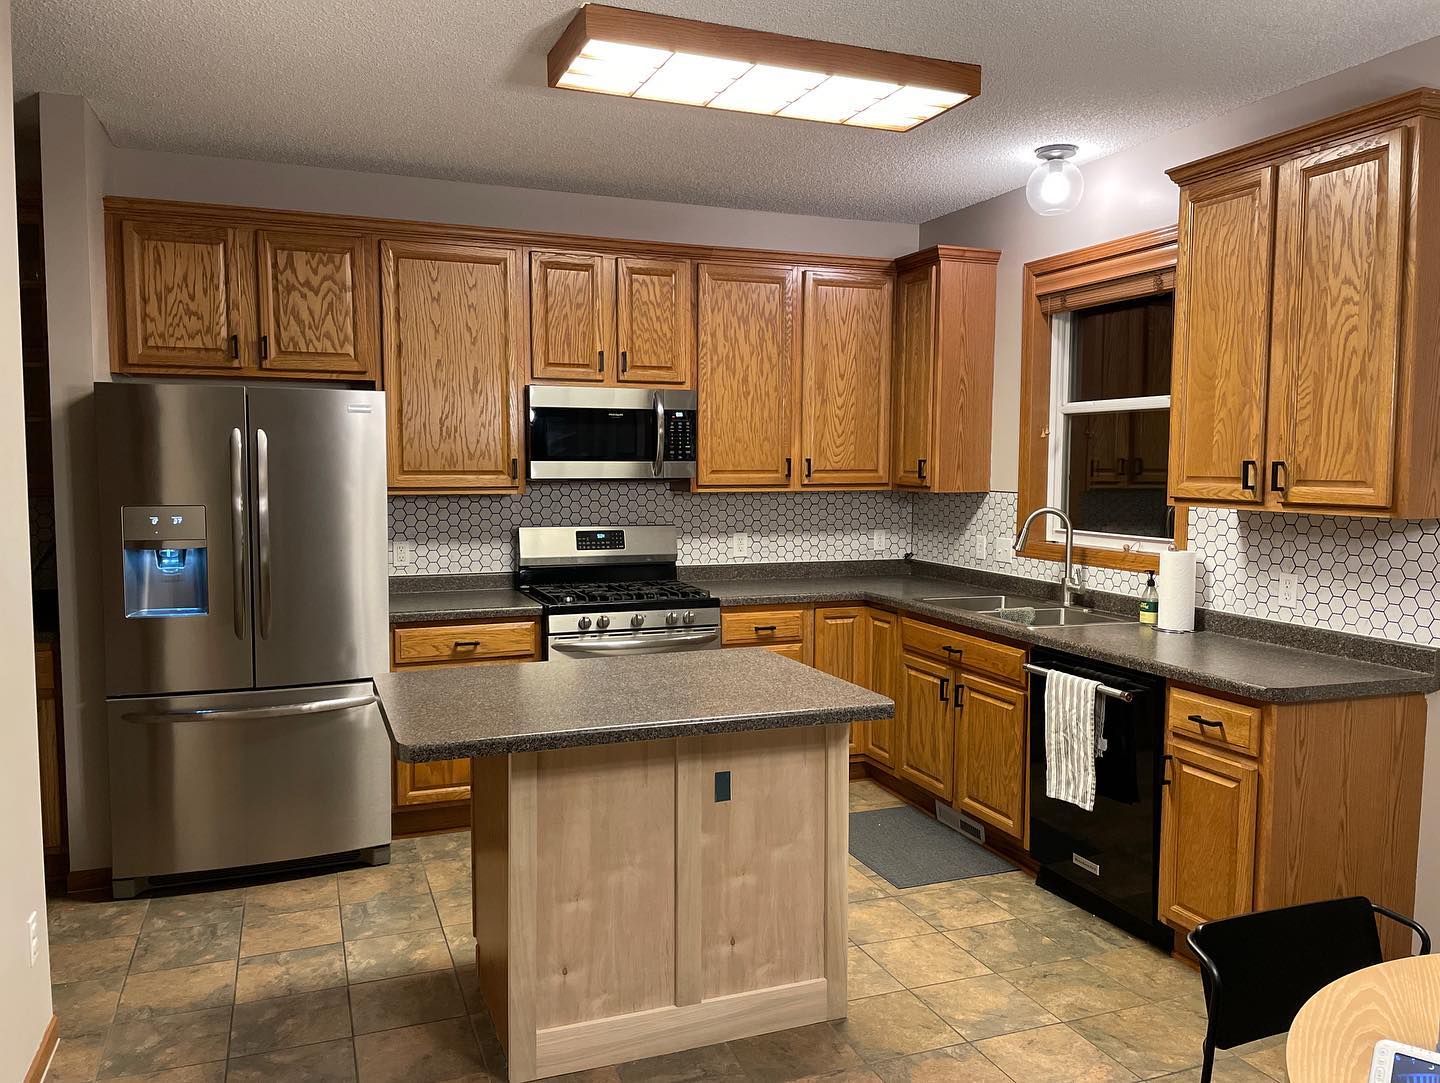
For Minneapolis homeowners considering a cabinet refresh — and the Twin Cities housing stock includes a significant number of homes built in the 1980s, 1990s, and early 2000s with natural oak, maple, or cherry cabinets that have never been painted — understanding what is actually on the surface before any preparation begins is the decision that determines whether the project succeeds or fails. Getting it right requires knowing something about wood finishing chemistry that most DIY guides skip entirely.
What “Stained Wood Cabinets” Actually Means at the Surface Level
When most homeowners say their cabinets are stained, they’re describing what they see — a wood surface with color applied to it. What that description conceals is that virtually every set of stained wood cabinets in a residential kitchen has two distinct layers that behave completely differently when you attempt to paint over them: the stain itself, which is a colorant that has penetrated the wood fibers, and the topcoat, which is a film-forming finish applied over the stain to protect it.
The topcoat — not the stain — is what you are actually painting over. In most residential cabinets manufactured and installed over the past forty years, that topcoat is either a catalyzed lacquer, a conversion varnish, or a polyurethane. Each of these products cures to a film that is significantly harder and more chemically resistant than standard interior latex or even waterborne alkyd paint. That hardness and chemical resistance is precisely what makes them excellent protective finishes for cabinets — and precisely what makes them difficult surfaces for new paint to adhere to without specific preparation steps.
The critical variable is the condition and adhesion profile of that topcoat. A topcoat that is intact, well-adhered, and uncontaminated provides a surface that can be adequately prepared for paint through mechanical abrasion — scuff sanding — without stripping. A topcoat that has begun to delaminate, has extensive crazing or cracking, or has been contaminated by years of kitchen grease penetrating its surface cannot be salvaged by sanding alone. Attempting to paint over a failing or contaminated topcoat produces a new paint film that looks adequate at completion and begins peeling, usually at the edges and high-contact areas, within the first several months of use.
The Tannin Bleed Problem That Most Homeowners Never See Coming
Even when the existing topcoat is in acceptable condition, certain wood species present a specific failure mode that causes paint to discolor from below — often weeks or months after the project is complete, when fixing it requires redoing the work from scratch. This failure mode is tannin bleed, and it is the reason that primer selection for stained wood cabinets is not a generic decision.
Tannins are naturally occurring polyphenolic compounds present in varying concentrations in different wood species. Oak — the dominant cabinet wood in American kitchens built from the 1980s through the early 2000s, including a significant percentage of Minneapolis-area homes built during those decades — contains particularly high tannin concentrations. When water-based primer or paint contacts bare or inadequately sealed oak, moisture from the coating mobilizes these tannins and carries them toward the surface of the drying paint film. The result is yellow or brown staining that bleeds through even multiple coats of topcoat applied over a latex primer that didn’t seal the wood adequately.
The mechanism is important to understand: tannin bleed is not stopped by applying additional coats of water-based paint. More latex over a latex primer that has already allowed bleed-through will simply exhibit the same staining because the root cause — the unsealed wood surface beneath — has not been addressed. The correct solution is an oil-based or shellac-based stain-blocking primer, neither of which contains water that can mobilize tannins, and both of which seal the wood surface completely before any water-based topcoat is applied.
This matters specifically for the cabinet preparation question because it affects whether sanding alone is sufficient. If sanding the existing topcoat exposes raw wood — at edges, at routed profiles, at areas where the existing finish has worn through — those bare wood exposures require a stain-blocking primer before any water-based topcoat is applied. Applying a latex primer over exposed oak and then painting it white or any light color will almost certainly produce tannin staining at those areas, sometimes immediately and sometimes delayed by weeks as the wood slowly releases its extractives through the new film.
When Stripping Is Actually Necessary
Stripping an existing cabinet finish is a significant amount of work — it requires chemical strippers, extensive cleanup, and refinishing from bare wood, which adds time and cost to any cabinet project. The question of when it is actually necessary versus when adequate preparation can be achieved through sanding is therefore consequential for project planning.
Stripping is genuinely necessary in three situations. The first is when the existing topcoat has failed — when it is peeling, lifting at edges, cracking in a pattern that indicates loss of adhesion to the wood beneath, or delaminating in a way that leaves the surface unstable. Painting over a failing topcoat simply transfers the failure to the new paint system. The new paint will be bonded to the old topcoat, and as the old topcoat continues to lose adhesion to the wood, it takes the new paint with it.
The second situation requiring stripping is contamination that cannot be removed by cleaning. Kitchen cabinet surfaces accumulate years of aerosolized cooking oils and grease that deposit on the surface and, over time, penetrate the topcoat through microscopic defects. A topcoat that has been in service for fifteen or more years in an active kitchen may have grease contamination that neither degreasing cleaners nor scuff sanding can fully address. Paint applied over a grease-contaminated surface cannot develop full adhesion because the grease creates a release layer between the old film and the new.
The third situation is when the existing finish is so thick from multiple previous paint or finish applications that the profile has obscured the cabinet door profiles and detail routing. This is more common on cabinets that have been painted previously rather than originally stained, but it occurs in stained cabinets that received multiple refinishing coats over decades. In these cases, stripping returns the surface to its original profile and produces a result that is visually far superior to adding another layer of film.
What Adequate Preparation Without Stripping Actually Requires
When the existing topcoat is intact, well-adhered, and free of significant contamination, a full strip is not necessary — but the preparation that is required goes significantly beyond the brief scuff-sanding that many online guides describe. The sequence that produces reliable results begins with thorough degreasing using a TSP substitute or dedicated cabinet degreaser, applied and wiped with enough mechanical action to cut through the greasy residue that accumulates on cabinet surfaces regardless of how clean the kitchen appears. This step is not optional — adhesion failures on painted cabinets that were not stripped are most commonly traced to inadequate degreasing rather than inadequate sanding.
After degreasing, scuff sanding with 150-grit abrasive serves to break the surface energy of the existing topcoat — scratching the glossy surface enough to give the new primer mechanical grip to adhere to. This is not the same as removing the topcoat. The goal is surface profile modification, not stock removal. Any areas where sanding exposes bare wood, particularly at edges and profiles, require spot application of an oil-based or shellac primer before the full prime coat is applied.
The primer used over intact topcoat should be a bonding primer specifically formulated for difficult surfaces — products that use modified acrylic chemistry to adhere to low-surface-energy substrates like cured lacquer and polyurethane. This is a materially different product from a standard drywall primer or a generic interior primer, and substituting a standard primer on the assumption that adequate sanding will compensate for inadequate primer chemistry is one of the most common cabinet painting mistakes that produces failures within the first year.
The Minneapolis Climate Factor in Cabinet Cure and Longevity
Cabinet painting in Minneapolis-area homes has a climate-specific consideration that affects both the project timeline and the long-term performance of the finished cabinets: the dramatic indoor humidity swing between Minnesota’s winter heating season and its summer. Forced-air heating systems in Minneapolis homes can drive indoor relative humidity below 30 percent during January and February, and summer humidity — particularly in homes without central air conditioning, which includes a meaningful percentage of the older homes throughout Northeast Minneapolis, Seward, Linden Hills, and the surrounding neighborhoods — can exceed 65 percent.
This humidity cycling causes wood to expand and contract seasonally, and those dimensional changes stress the bond between the cabinet substrate and the paint film at every edge and joint. A paint system that was not given adequate cure time before being returned to service — and waterborne alkyd products used in professional cabinet painting require fourteen to thirty days of full cure, not just the one to two hours of dry time — will experience stress at the bond line before it has developed the full cross-link density to resist it. In Minnesota’s low winter humidity, cure rates slow further. Cabinets painted in December in a Minneapolis home with dry forced-air heat may require closer to thirty days of careful use before they achieve the full hardness that the same product would reach in twenty days under summer conditions.
The Answer Depends Entirely on What’s There
The question of whether stained wood cabinets need to be stripped before painting does not have a single correct answer — it has a correct diagnostic process. A professional cabinet painter who provides an accurate answer to this question is one who examines the existing topcoat’s adhesion, evaluates its contamination level, identifies the wood species and its tannin risk profile, and assesses whether any areas of existing finish failure require remediation before painting can succeed.
At Headwaters Painting, we serve homeowners across Minneapolis, Northeast Minneapolis, Seward, Linden Hills, Roseville, Arden Hills, Falcon Heights, and the broader Twin Cities metro, and cabinet preparation assessment is where our process starts — not primer selection, not color consultation, but a clear-eyed evaluation of what the surface actually needs before a brush or sprayer touches it. If you’re wondering whether your kitchen cabinets are a candidate for painting or whether the existing finish requires a different approach, reach out through our contact page or call our team today to schedule a free estimate. We’ll tell you exactly what we’re looking at and what the right path forward is for your specific cabinets — no guesswork, no surprises after the project begins.